You are currently browsing the monthly archive for March 2015.
“Age is an issue of mind over matter. If you don’t mind, it doesn’t matter.” – Mark Twain
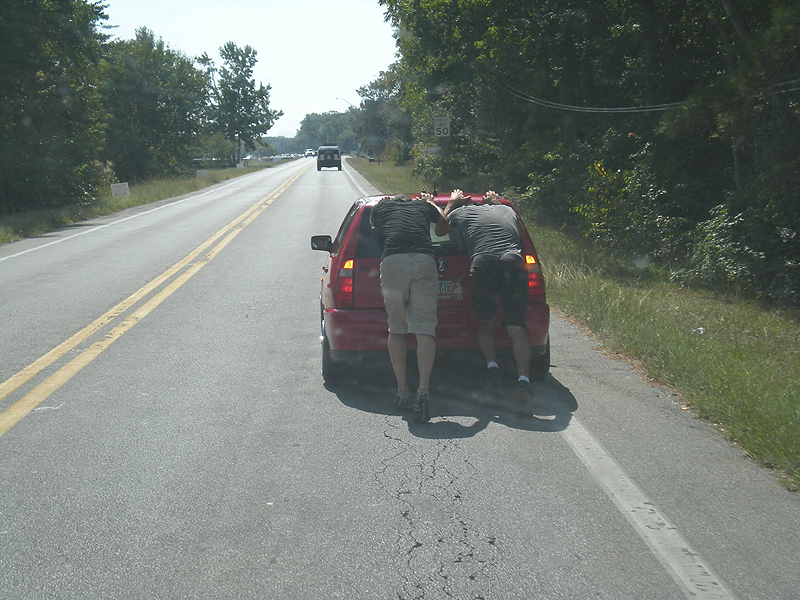
It’s true. I’m 30 years old, and I’m excited. To celebrate, here are 30 of my favorite pictures from along the way:


thanks!
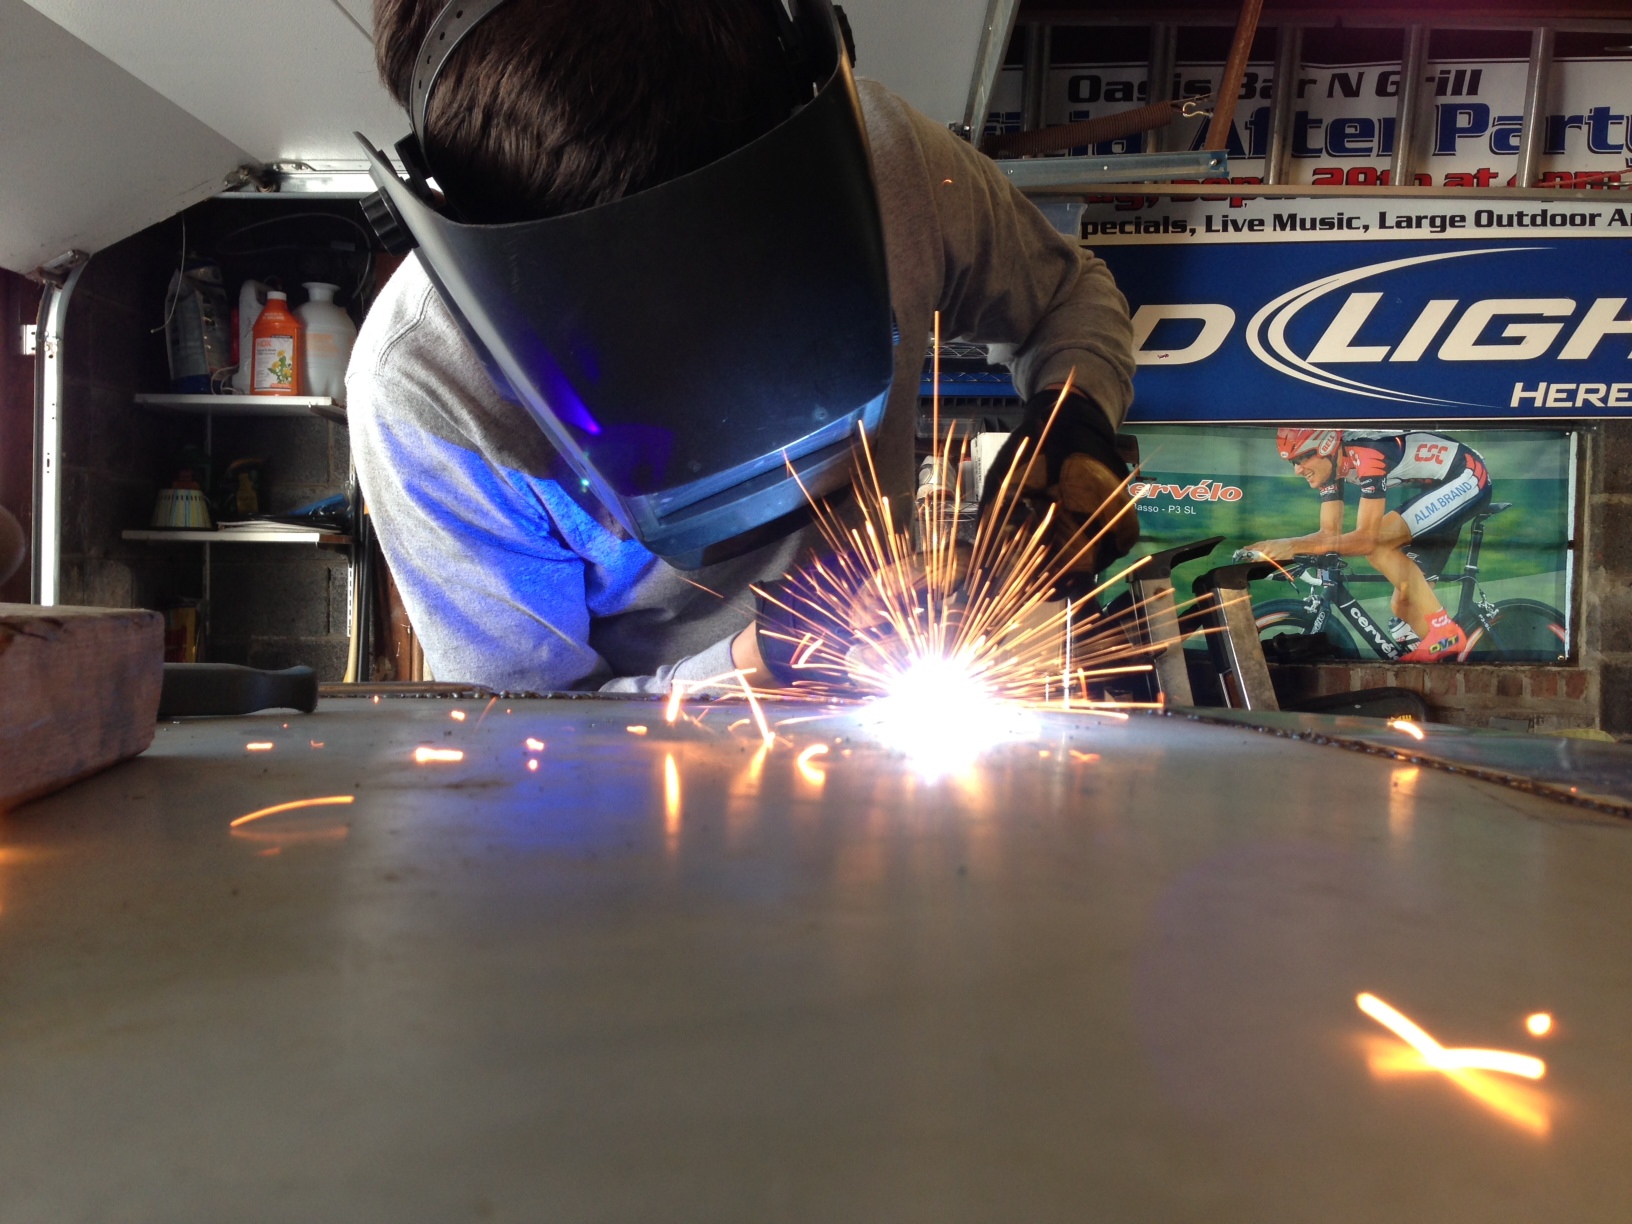
It was somewhere amid the hail of sparks gently caressing my face Sunday morning that I became acutely aware of the fact that I never pull out the angle grinder after something’s gone right.
Lesson #1: Even the lightest of hammer taps will inevitably degrade the initial threading pitch of the alternator.
Lesson #2: Taking a cutting disk to your Porsche for the first time is exhilarating in so many ways.
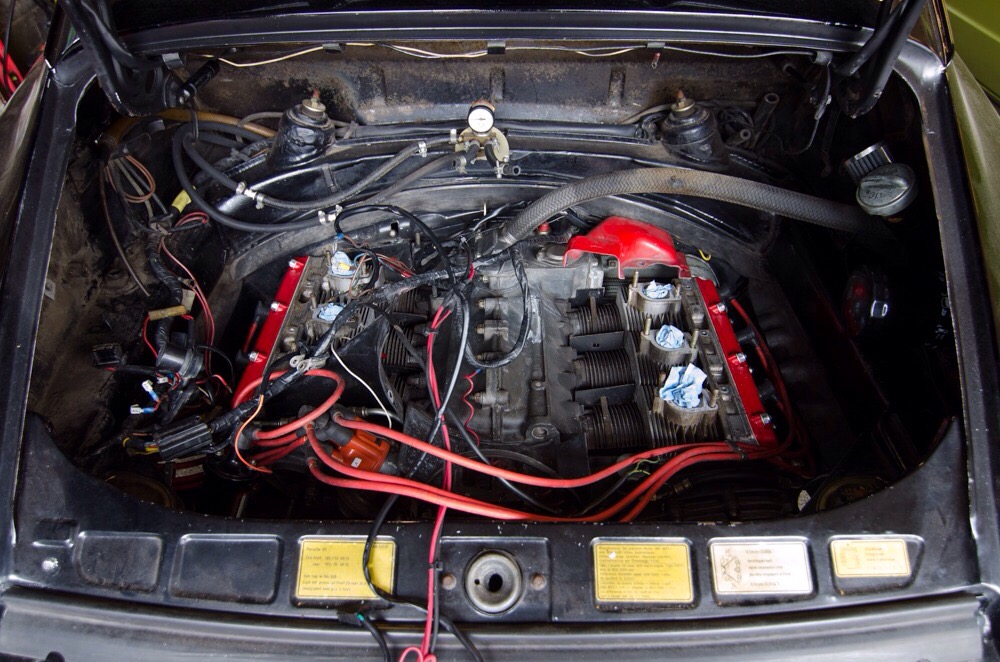
But first, allow me to back up and start from the beginning. Yesterday began the eagerly anticipated re-assembly of my engine bay. After pulling the carbs for a rebuild, I bit on the “while you’re in there” bug and went after some components that were in dire need of a refresh and attitude adjustment. I stripped the paint from these pieces and re-painted in a variety of finishes that, in my opinion, better suit the car and better suit my tastes.
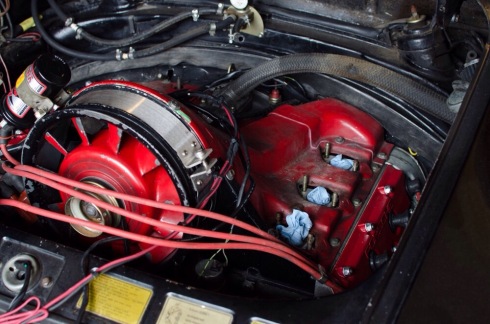
The offending color scheme:
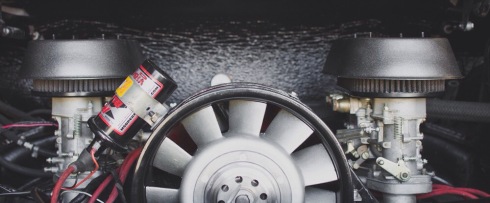
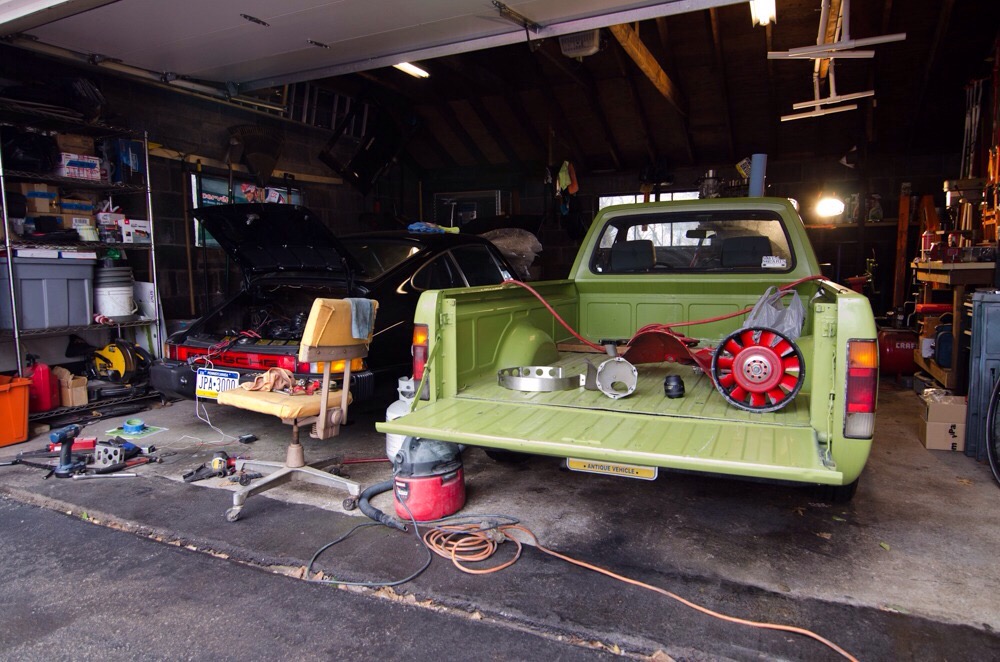
And a quick test fit of the finished product:

I only ended up painting the fan, housing, fan shroud, and rain hats but the difference is night and day for me. As a bonus, my fan strap turned out to be a Rennline aluminum one that was previously installed upside down!
I had a quick scare bolting the fan back in place, but luckily the threads cleaned up without calling the grinder back in.

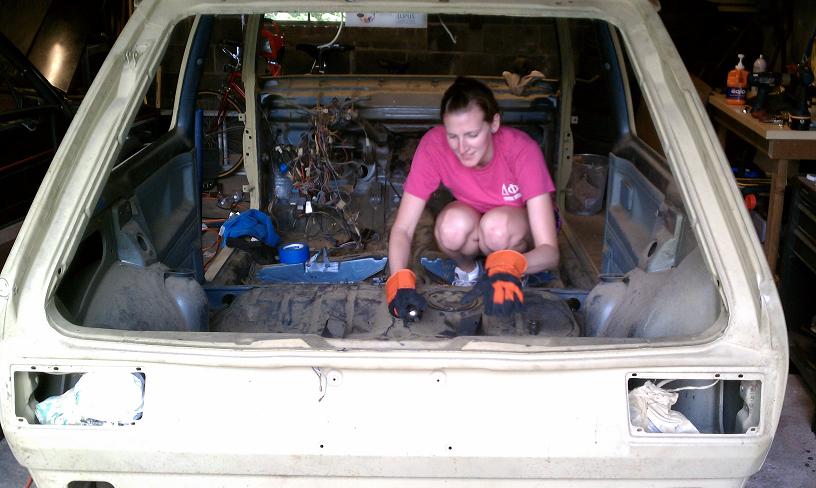
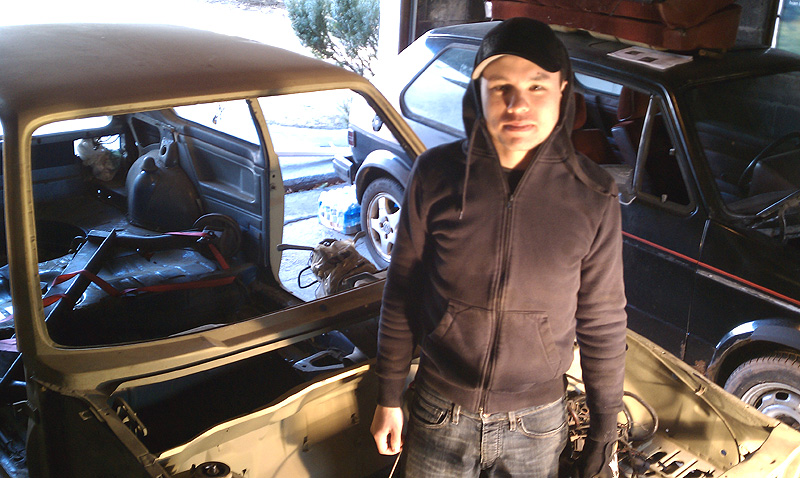
After a quick break to conceptualize, I set about task #2 for the day – fitting the MSD units to the relay panel. The units were previously mounted to the firewall with wires hanging everywhere. I can’t exactly shave the bay like a MK1 Volkswagen, but I can try to clean things up a little better.

Before:

Mock up:

With the MSD mocked in place and daylight fading, I jumped ahead to stretch task #3 – turning the key!
Well the key turned, the fuel pump pumped, and the right carb transformed from a freshly cleaned horsepower vortex to a beautiful fountain of gasoline. “oh fuck oh fuck oh fuck!” I whimpered while dashing back to the front of the car to turn the key off. It wasn’t clear at first, but something from the back of my mind slowly crept to the front..
Remember that float with a kink in it? It’d be fine right? Wrong. The introduction of fuel lead to the float being stuck and consequently the needle valve staying open. Rats! Shoot! Gosh darn it! I have a new float ordered that will hopefully be here by the end of the week.
Womp womp

Previously on AMC’s the walking dead –


When we last left off, I had just completed the cleaning and rebuild of my first carburetor. Motivated by an overwhelming sense of smugness, I didn’t shave once all week and entered nearly every problem solving situation feeling methodical as fuck. Need to pack lunch? – let’s break the contents one by one and assemble a great meal. Full inbox? – read and organize them into daily tasks. Stressed out wife? – identify the individual stressors and escape quickly to the garage.
That brings us to part two in the carburetor rebuild project. Over the weekend my goal was to finish the second carb, similarly clean and replace gaskets for the intake manifolds, and possibly start re-assembly. Progress with the second carb moved significantly faster than the first, since I was now fairly familiar with all the parts and their assembly.


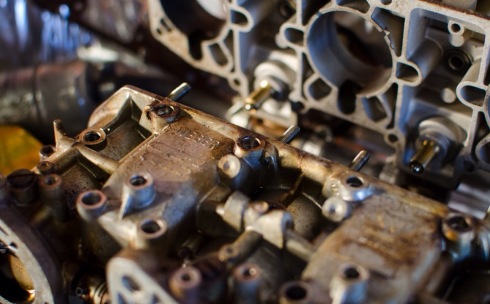
Progress stalled, however, when my attention shifted to the intake manifolds. For those without little girl hands, removing the awkwardly located nuts would be a challenge, and I would highly recommend a set of crow’s feet wrenches. For me the nuts came off relatively easy, but coaxing the manifolds off their mounting bolts was much trickier. Gentle persuasion came to the rescue, and it was clear that they had not been touched in a very long time.

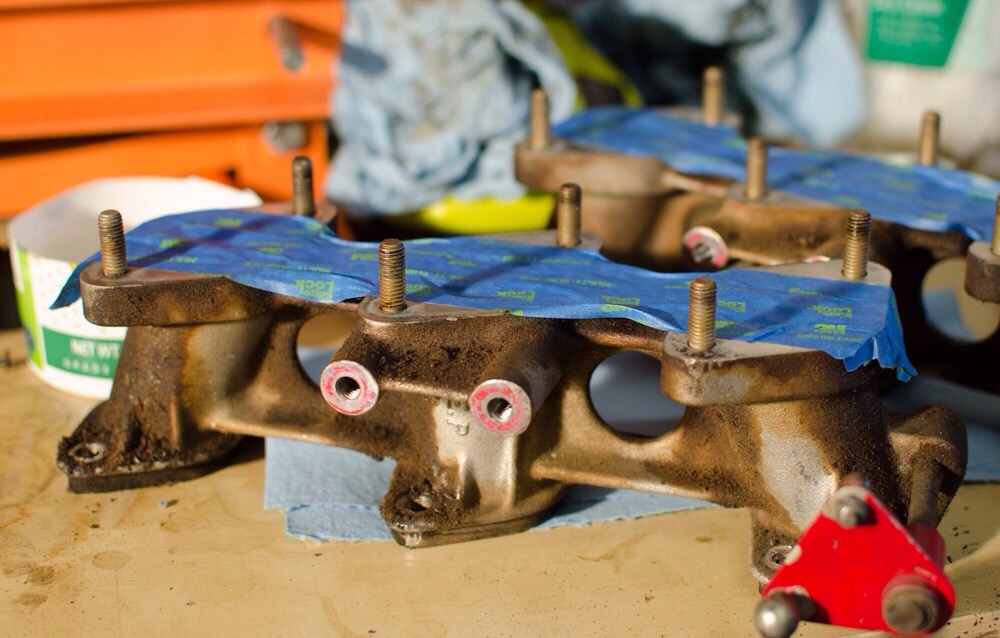
While you’re in there…
Something I’ve never been a fan (pun intended) of on my 911 was the previous owners mass application of red paint to the engine components. It was now or never to make the change so I eagerly unbolted the fan shroud and fan housing.


And that’s where we’re left after a long Saturday devoted solely to the 911. The individual components have been stripped down and are currently receiving a refreshing and some new paint. Up next is re-assembly and the initial carburetor mixture tuning!
The following narrative is a slight digression from our usual content, but I thought you might enjoy it anyway..
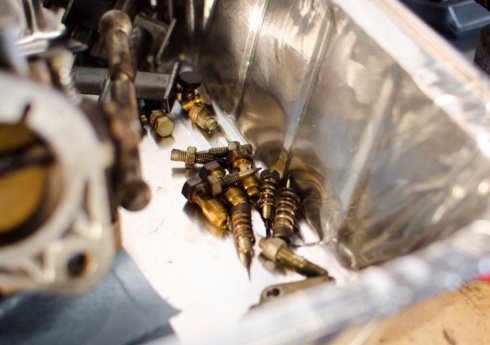
Yesterday I finally mustered up the courage to dive into the carburetor rebuild that I’ve been procrastinating on. I’m not sure where my fear of tinkering on carburetors comes from. Theoretically they are amazingly simple devices, but via the wonders of physics perform what in my mind still seems like black magic. So many screws… So many adjustments… So many little brass pieces to lose or break or put in backwards…
Anyway, it wasn’t as bad as I thought.
Whether by chance or on purpose, Weber cleverly designed all the fiddly bits to have a sort of logic about them. The way the jets are shaped or how a screw is sized gives each item a feeling of “It goes here because it doesn’t fit anywhere else”. I had taken many reference pictures before hand, but found myself only having to reference them once, and only for the complicated reassembly of the spring tensioned accelerator pump. I also kept the second carb fully assembled while working on the first in case I needed it as live reference. I’ve only completed the first one so far, but I’m really pleased with the results. It’s too early to pat myself on the back, as they still need to go back in the car and be adjusted, but so far so good…